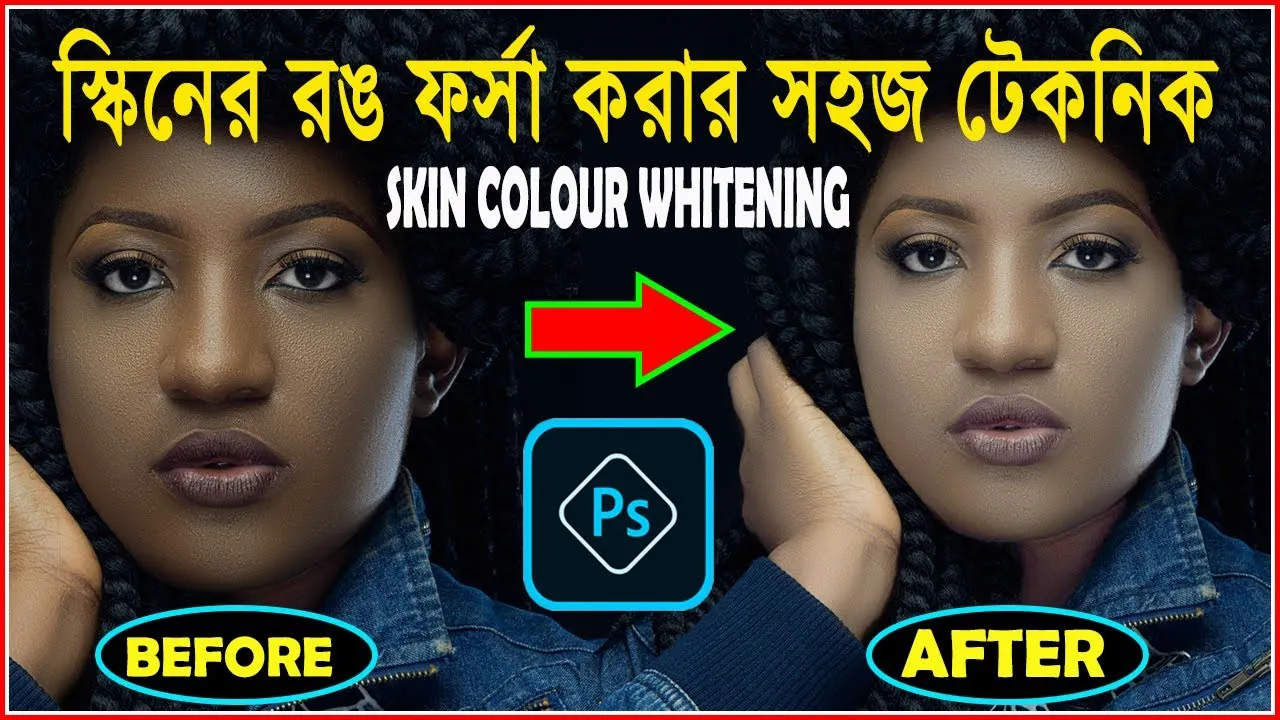
What is Skin Whitening in Photoshop
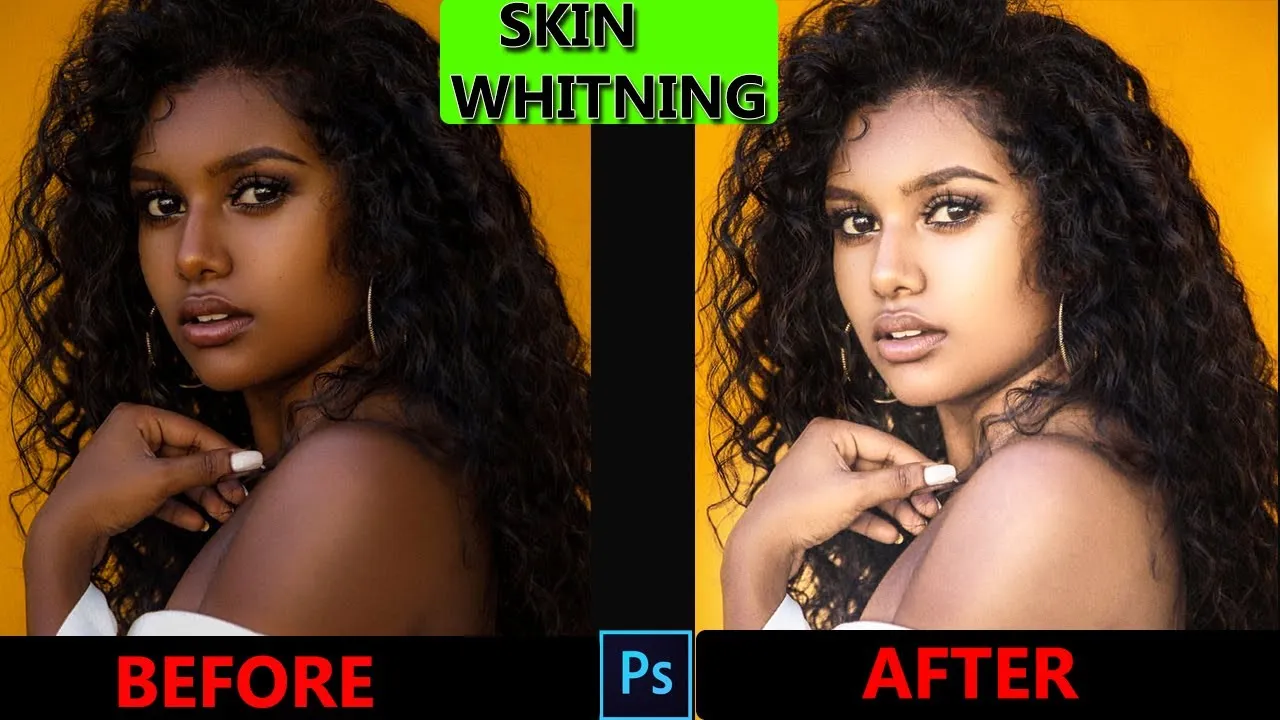
Skin whitening in Photoshop involves using various tools and techniques to lighten and even out skin tones in a photograph. It’s a common practice in photo editing, used to enhance the appearance of skin by reducing blemishes, imperfections, and unevenness. When done correctly, skin whitening can significantly improve the overall look of a portrait or image, giving it a more polished and professional appearance. However, it’s crucial to approach this process with a delicate touch, aiming for natural-looking results rather than an artificial, over-edited finish. The goal is to enhance the subject’s beauty while maintaining a realistic representation of their skin.
Understanding the Basics of Photoshop for Skin Whitening
Before diving into the specifics of skin whitening, it’s essential to have a foundational understanding of Photoshop. This includes knowing how to navigate the interface, work with layers, and use basic adjustment tools. Familiarity with concepts like color modes, resolution, and file formats will also prove beneficial. Photoshop offers a wide array of tools, each designed for different aspects of photo editing. Understanding these fundamental elements will enable you to effectively utilize the more advanced techniques involved in skin whitening. Learning the basics first will make the entire process smoother and more efficient.
Choosing the Right Tools in Photoshop
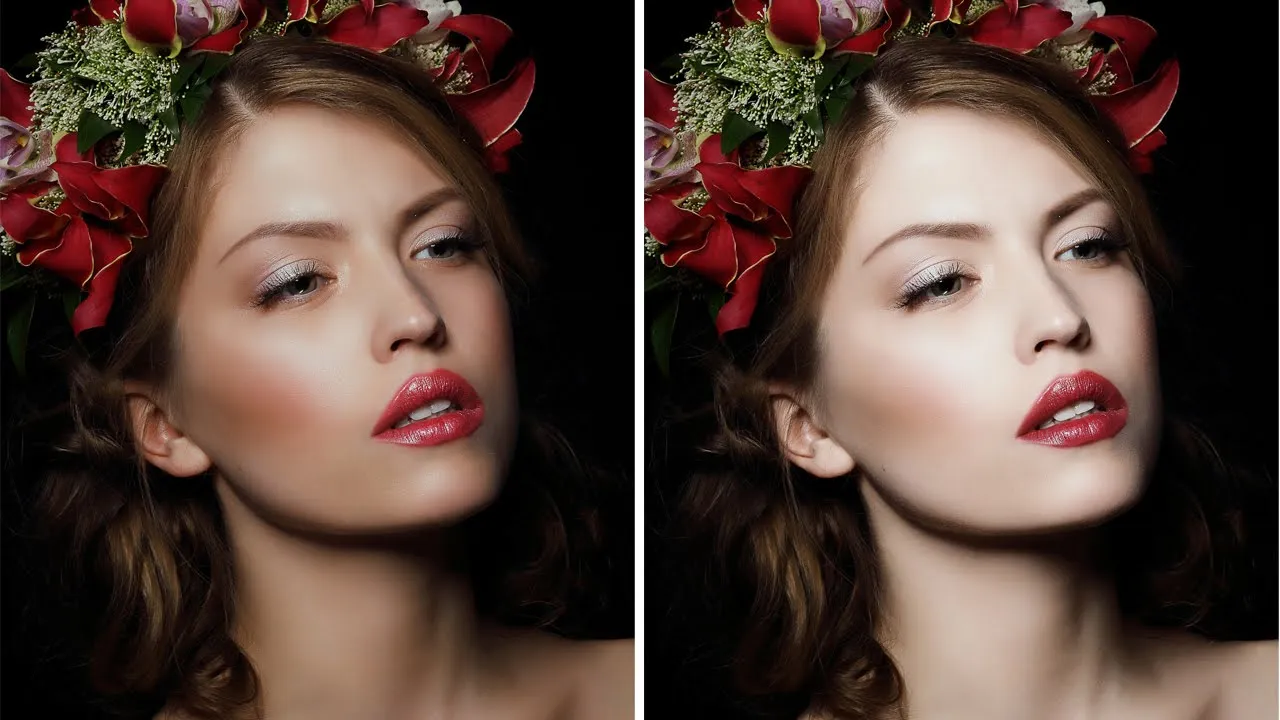
Selecting the appropriate tools is key to successful skin whitening in Photoshop. The right tools will help you achieve natural-looking results while minimizing the risk of creating an artificial appearance. Several tools are particularly useful for this process, each serving a specific purpose in enhancing the skin. These include the Adjustments Panel, the Layers Panel, and the Healing Brush Tool, all of which are crucial for refining skin tones, correcting imperfections, and creating a polished final image. Knowing when and how to use these tools will significantly impact the outcome of your photo editing efforts. Mastering the tools will enable you to achieve the desired look with precision and ease.
Adjustments Panel
The Adjustments Panel is your go-to for making broad changes to color and tone. Tools like Brightness/Contrast, Levels, and Curves allow you to adjust the overall lightness and darkness of the skin, as well as the contrast. This is often the first step in skin whitening, as it sets the base for further refinements. Experimenting with these settings can help you achieve a balanced and natural-looking skin tone. Careful adjustments here can make a big difference in the final image, ensuring the skin appears healthy and vibrant without looking artificial. Mastering this panel is fundamental for color and tone corrections.
Layers Panel
The Layers Panel is fundamental in Photoshop, enabling non-destructive editing. Working with layers allows you to apply adjustments without altering the original image directly. Creating duplicate layers for each adjustment ensures flexibility; if you make a mistake, you can easily revert or modify the layer without impacting the rest of the image. This panel is also essential for blending modes, which control how layers interact with each other. Using different blend modes, like Overlay or Soft Light, can subtly and effectively enhance skin tones, adding depth and dimension. The Layers Panel is a cornerstone of effective and efficient editing.
The Healing Brush Tool
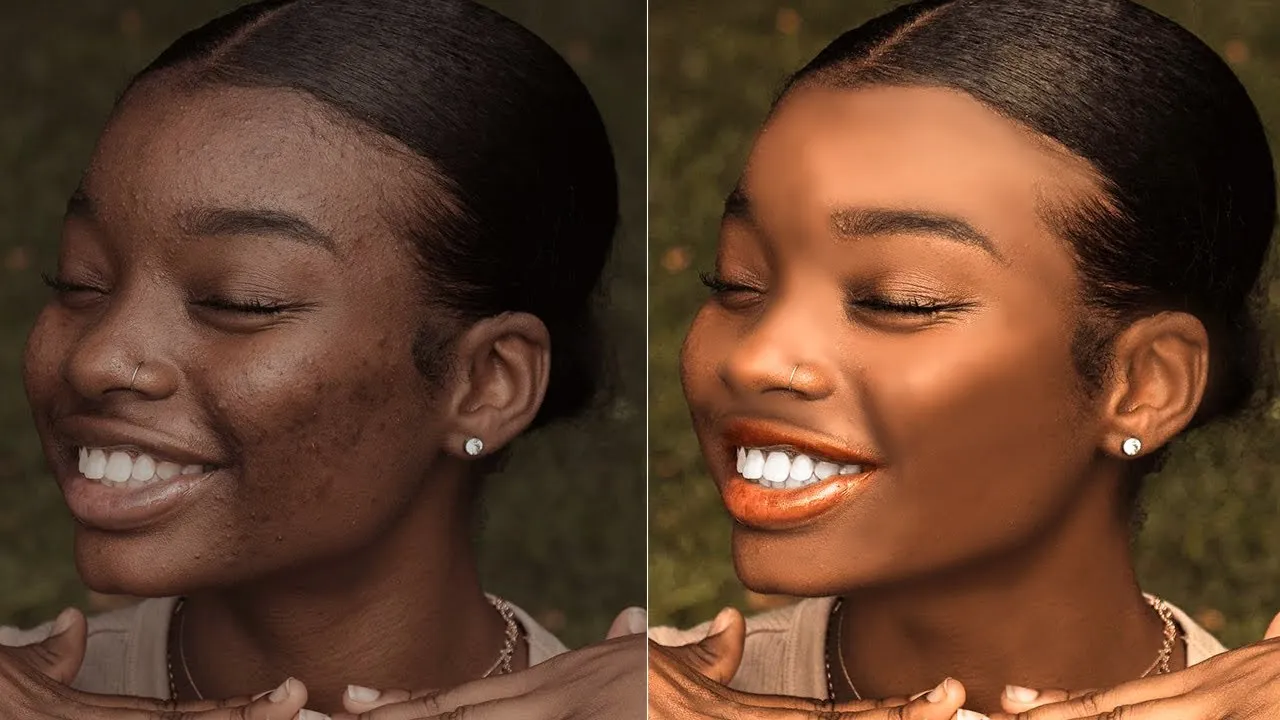
The Healing Brush Tool is a lifesaver for removing blemishes, scars, and other imperfections. It works by sampling the texture from a clean area of the skin and seamlessly blending it over the blemish. This tool is ideal for spot corrections, creating a smooth and flawless complexion. While effective, use it judiciously, as overusing it can lead to a plastic, unnatural look. Combining the Healing Brush Tool with other techniques, like the Dodge and Burn tools, will result in the best skin retouching results. Practice with this tool, and you will be able to quickly remove unwanted imperfections.
How to Whiten Skin Using Photoshop Step by Step
Skin whitening in Photoshop involves a series of steps designed to gradually enhance skin tones while maintaining a natural look. The process includes several stages, starting from importing the image and duplicating the layer to using tools like the Healing Brush Tool and adjusting brightness and contrast. Following a structured approach will ensure your results are both effective and visually appealing. Each step builds upon the previous one, culminating in a refined and professional-looking final image. Mastering these steps is essential for effective skin retouching.
Step 1 Import Your Image
Start by opening your chosen image in Photoshop. Make sure the image is of good quality, with sufficient resolution and proper lighting. A well-lit image will make the skin whitening process much easier. Consider any initial blemishes or imperfections at this stage; this awareness will guide your subsequent steps. Ensure the image is correctly exposed and in focus before proceeding. This first step sets the stage for the entire process, so choose your image carefully and assess its initial state.
Step 2 Create a Duplicate Layer
To ensure non-destructive editing, duplicate the original layer. You can do this by right-clicking on the layer in the Layers Panel and selecting ‘Duplicate Layer’. Alternatively, you can drag the layer onto the ‘Create a new layer’ icon at the bottom of the panel. Working on a duplicate layer allows you to make changes without permanently altering the original image. This is crucial, as it gives you the flexibility to undo or adjust your edits without starting over. This initial step safeguards the original image, making it the ideal starting point for any skin retouching task.
Step 3 Use the Healing Brush Tool
Select the Healing Brush Tool from the toolbar. Adjust the brush size to match the size of the imperfections you want to remove. Sample a clean area of skin near the blemish by holding down the Alt (or Option) key and clicking. Then, paint over the blemish. The Healing Brush Tool will automatically blend the sampled texture with the surrounding skin, removing the imperfections and creating a smooth appearance. Take your time and work carefully, as overusing the tool can lead to an unnatural look. This step helps remove unwanted blemishes.
Step 4 Adjust Brightness and Contrast
Go to the Adjustments Panel and select Brightness/Contrast. Adjust the brightness and contrast sliders to lighten the skin. Be careful not to overdo it; the goal is to subtly enhance the skin tone. You can also use Levels or Curves to refine the adjustments further. Fine-tuning these settings will create a more even and balanced skin appearance. This step is critical for achieving a natural-looking result. Monitor the image closely as you make these changes, ensuring that the skin retains its natural texture and detail.
Step 5 Fine-Tune with Color Balance
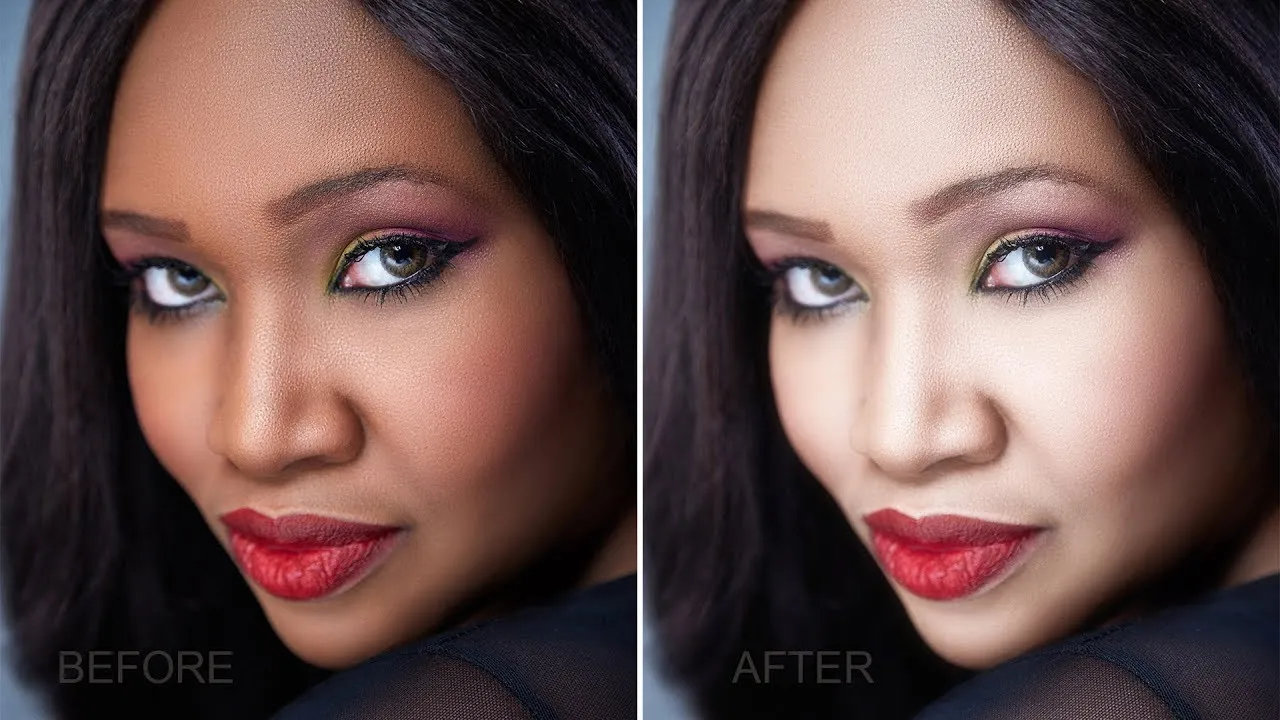
Use the Color Balance tool to adjust the skin’s color. This can help correct any unwanted color casts and create a more harmonious overall appearance. Pay attention to any red or yellow tones that might be present and adjust accordingly. The goal is to achieve a balanced and natural skin tone. Experiment with the sliders to get the perfect balance. This step will help prevent the skin from appearing overly yellow or red. Carefully adjusting the color balance will result in a professional finish.
Advanced Techniques for Skin Whitening
Once you’ve mastered the basics, consider employing advanced techniques to enhance your skin whitening results. These techniques offer greater precision and control, resulting in a more refined and professional finish. They involve using specialized tools and methods to tackle complex challenges, such as uneven skin tones, deep shadows, and significant imperfections. Mastering these techniques allows you to take your photo editing skills to the next level.
Dodge and Burn Techniques
The Dodge and Burn tools are powerful for selectively lightening and darkening areas of the skin. The Dodge tool lightens areas, while the Burn tool darkens them. These tools are especially useful for correcting uneven lighting and adding dimension to the skin. You can use them to smooth out shadows, highlight cheekbones, and enhance the overall contours of the face. To use these tools effectively, start with a low opacity brush and gradually build up the effect. These tools offer a high level of control.
Using the Clone Stamp Tool
The Clone Stamp Tool is another valuable tool for retouching skin. It works by sampling pixels from one area and cloning them to another. This is useful for removing larger imperfections, such as scars or tattoos. Like the Healing Brush Tool, you’ll need to sample a clean area of skin to ensure a seamless blend. Use the Clone Stamp Tool carefully, as it can easily create a repetitive or unnatural look if overused. Blend in your cloned areas by carefully adjusting brush size, opacity and flow.
Retouching Imperfections
Beyond simply whitening, focus on retouching imperfections. Use the Healing Brush, Clone Stamp, and other tools to remove blemishes, wrinkles, and other flaws. Ensure that the skin texture remains realistic, and avoid over-smoothing, which can make the skin appear artificial. A balanced approach will help you achieve a polished and natural look. Correcting these imperfections makes the skin appear flawless.
Tips for Natural-Looking Skin Whitening
Achieving natural-looking skin whitening is all about subtlety and precision. The goal is to enhance the skin’s appearance without making it look artificial or over-edited. Several factors contribute to a natural outcome, from the tools you use to the specific techniques you employ. Strive for balance and realistic results, avoiding extreme changes that can detract from the natural beauty of the subject. Remember, less is often more in the realm of photo editing. Mastering these nuances will help achieve the most realistic results.
Avoiding Over-Whitening
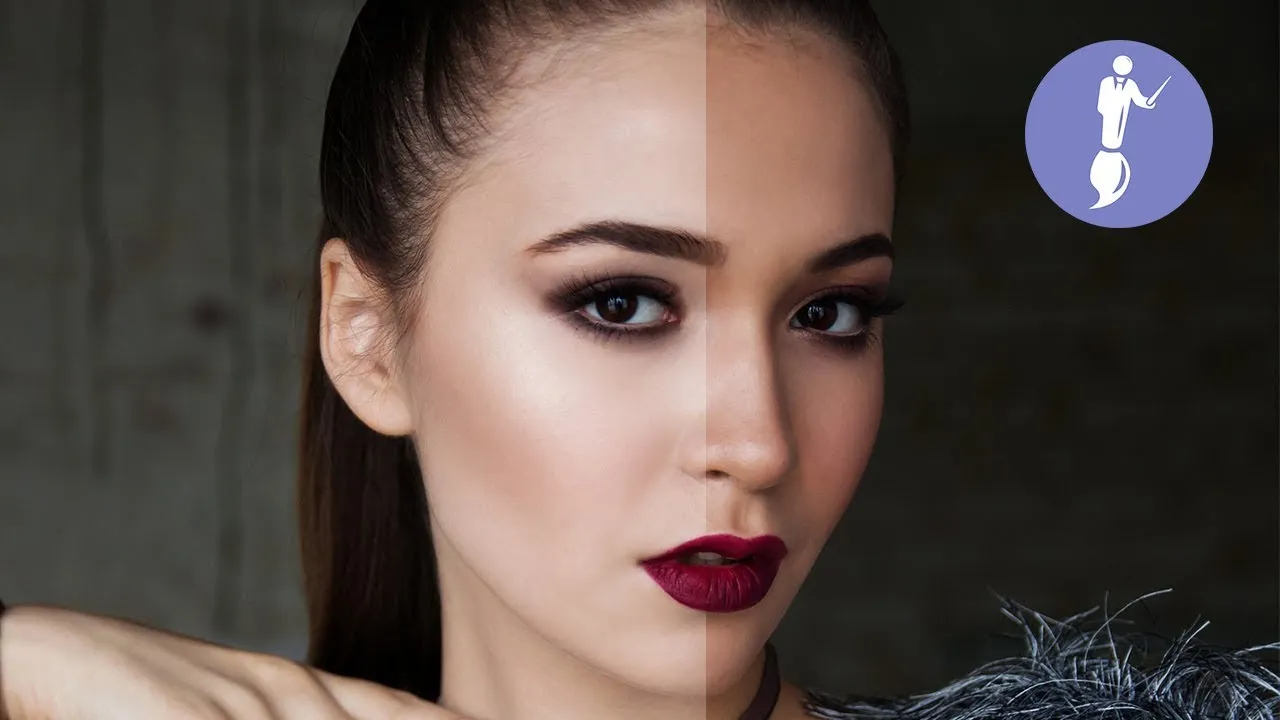
One of the most common mistakes is over-whitening the skin. Avoid this by making small, incremental adjustments. Constantly compare your edited version to the original to ensure that the changes are subtle and natural. Be aware of how much detail is lost as you lighten the skin. Over-whitening can make the skin appear flat, unnatural, and even ghostly. Pay attention to the balance and avoid going too far. Keeping a natural look should be the ultimate goal.
Matching Skin Tones
Ensure that the skin tone is consistent throughout the image. Pay close attention to the areas around the face, neck, and hands, as these are often visible. Use tools like the Color Balance to harmonize the skin tones and eliminate any unevenness. Matching skin tones helps to create a cohesive and natural appearance. Correcting any disparities in skin color is essential to a realistic and polished final product. Make sure the whole picture has a matching skin tone.
Preserving Skin Texture
Always strive to preserve the natural texture of the skin. Over-smoothing can lead to a plastic appearance. Use techniques like the Dodge and Burn tools to subtly enhance the skin’s highlights and shadows while maintaining its texture. Take a careful approach and avoid excessive blurring. Skin texture is a key element of realism, so preserving it is crucial to achieving a natural look. Be subtle to maintain the original texture.
Common Mistakes to Avoid
There are several common mistakes that can undermine your skin whitening efforts. Avoiding these pitfalls will help you achieve better results and avoid creating images that appear artificial or poorly edited. These mistakes include using the wrong tools, overdoing the adjustments, and not considering the lighting in the image. Recognizing and rectifying these errors will greatly enhance the quality of your photo editing.
Using the Wrong Tools
Using the wrong tools is a frequent error. For example, the Blur tool can often be tempting for smoothing skin, but it can also lead to a loss of detail and an artificial appearance. Focus on using tools like the Healing Brush, Dodge and Burn, and the Adjustments Panel. These tools offer greater control and more natural-looking results. Choose the right tools for the right tasks. Knowing what to use and when to use it is crucial.
Overdoing the Adjustments
Overdoing the adjustments is one of the most frequent mistakes. It’s easy to get carried away and apply too much whitening or smoothing. Always take a conservative approach, making small, incremental changes. Regularly check your progress against the original image to ensure that the changes are subtle and natural. Refrain from overediting, and you will achieve a natural look. Keeping your edits conservative is the key.
Not Considering Lighting
Lighting plays a critical role in skin tone and how it appears in photographs. Not considering the lighting in the original image is another common error. Harsh or uneven lighting can create shadows and highlights that affect how the skin appears. Before you start skin whitening, assess the lighting conditions and adjust accordingly. Correcting any lighting issues beforehand will help you to achieve more realistic results. Ensure you are taking the time to examine the lighting.
